Heading out the door? Read this article on the new Outside+ app available now on iOS devices for members! Download the app.
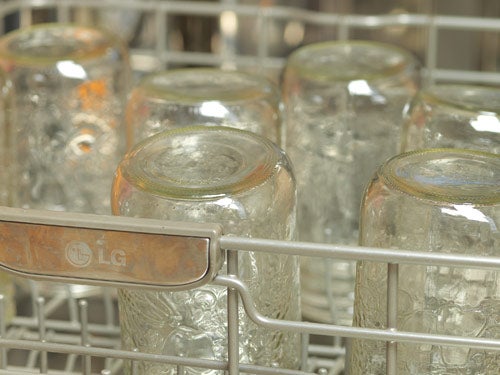
1. Sterilize Jars
Wash the jars and 2-pice lids in hot, soapy water; rinse well. Next, sterilize the jars by running them through the high-temp cycle on a dishwasher or by placing them in a large pot of simmering water. Keep the jars in hot dishwasher or hot water until ready to use.
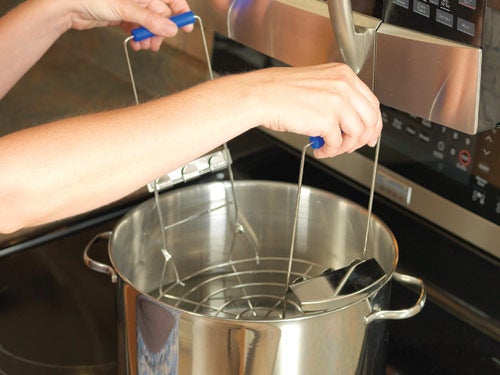
2. Prepare Canner
Fill the canner half full with hot water. Hook the rack over the edge of the pot so the rack is elevated in the canner. Center the canner over a burner and bring the water to a simmer while you prepare the tomatoes.
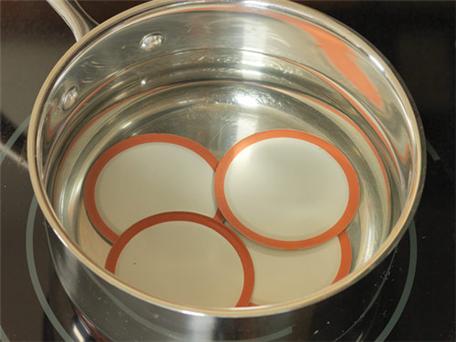
3. Heat Lids
Dry and set the screw-top lid bands aside. Place the lids with rubber seal in a small saucepan of simmering water. Keep the lids in hot water until ready to use. Never use lids with rubber seals that have been previously used. The jars and lid bands can be used again, however, as long as they don’t have cracks, chips or dents.
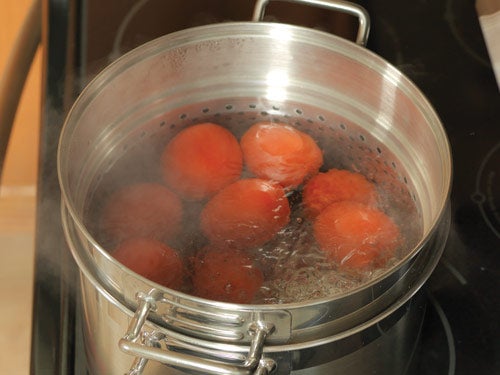
4. Blanch Tomatoes
Remove green stems from tomatoes. Place a few tomatoes at a time in a pot of boiling water for 30 to 60 seconds or until the skins start to crack.

5. Shock Tomatoes
Immediately plunge tomatoes into a bowl of ice water. This stops the cooking and allows the tomato skins to peel off easily.
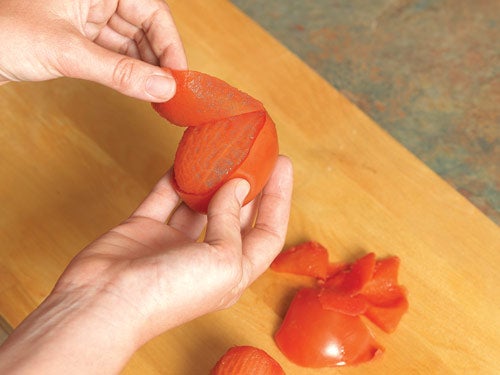
6. Peel and Cut Tomatoes
Peel and discard the tomato skins (they should slide right off). Cut and discard the core from each tomato. Tomatoes can be left whole (as shown here), or cut into halves or quarters, depending on your preference and the size of your jars. If leaving whole, remove stem end or core, if desired.

7. Add Lemon Juice
Remove a few jars at a time from the hot dishwasher or hot water and place on your cutting board. Add 1 tbsp lemon juice to the bottom of each jar.
NOTE: Lemon juice is added to lower the pH (increase the acidity) of the tomatoes. This helps with safe preservation. Most sources say a pH of 4.6 or lower is required for safe canning with the water bath method used here. Though the pH of most tomatoes ranges from 4.0 to 4.7, some have higher pH levels. Due to this potential variation in acidity, you need lemon juice to bring the pH down.
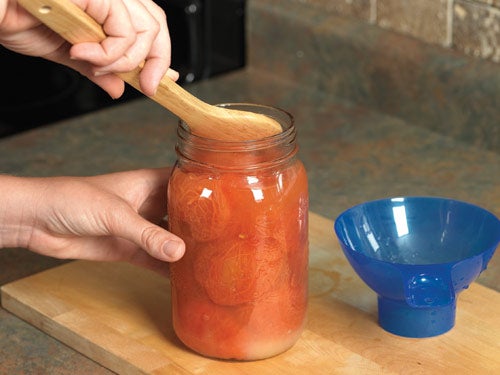
8. Fill Jars
Fit a funnel over the jar and ladle tomatoes and their juices into each jar. Use a wooden spoon to carefully and firmly pack the tomatoes into each jar. Press down so the tomatoes’ juices fill the jar (or add boiling water to each jar), leaving 1/2-inch headspace at the top of each jar.

9. Remove Air Bubbles
Slide a nonmetallic spatula (a plastic knife works well) around the inside edge of the jar, pressing back gently on tomatoes to release any air bubbles.
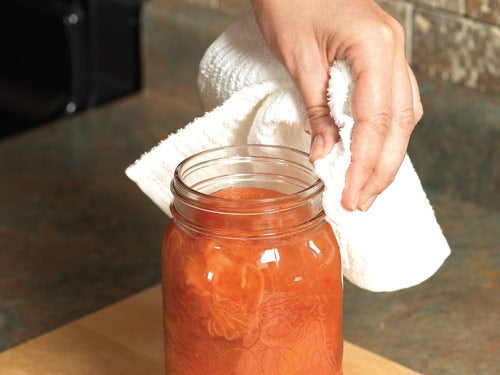
10. Wipe Jar Rims
Use a clean, damp cloth to wipe any tomato residue from the outer rim of the jar. This is necessary in order for the rubber lid to form a tight seal.
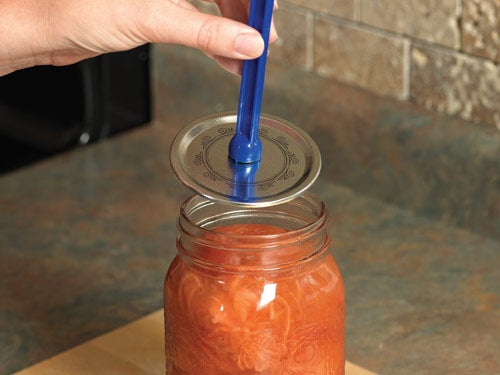
11. Place the Lids
Use the lid wand (or a pair of tongs) to lift 1 lid with a rubber seal at a time from the hot water. Place 1 lid on each jar, centering the rubber sealing compound on the rim of the jar.
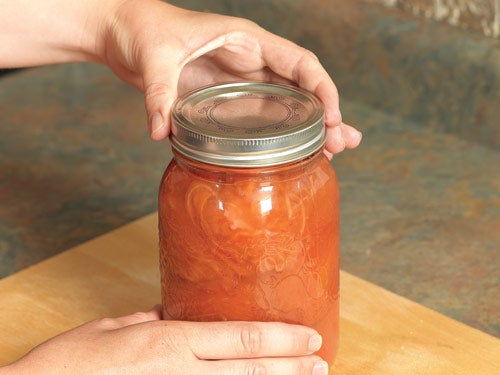
12. Add Screw Tops
Screw the lid band over the jar to hold the sealing lid in place. Screw lid evenly and firmly, but not too tight – just until resistance is met and lids are fingertip tight.

13. Fill Canner
After jars are filled, use the jar lifter to lower the jars in the hot water to rest on the elevated rack. Keep the jars steady and level so the tomatoes don’t slosh against the lid, compromising the rubber seal.

14. Process Jars
Lower the rack into the canner so the jars are completely submerged in the hot (but not boiling) water. The water must cover the jars by 1 to 2 inches. If necessary, add more hot water. Place lid on canner and bring water to a boil. Process pint jars for 40 minutes or quart jars for 45 minutes (if boiling water was added to the tomatoes in each jar) or 1 hour and 15 minutes (if only the tomato juices fill the spaces in each jar). Add more hot water as needed to the canner so the water remains above the jar lids. Don’t start counting the processing time until the water boils.

15. Check the Seal
After processing time is done, remove the canner lid and turn off the heat. Allow jars to remain in water 5 minutes before lifting them straight out with the jar lifter, without tipping. Set the jars on a dry towel to cool for 12 to 24 hours. After cooling, check that the lids have sealed by pressing one finger onto the center of each lid. If the lid is firmly down and doesn’t give, you have a tight seal. Wipe jars clean and store in a cool, dry, and dark place (like a basement or pantry) until needed. If any of the jars don’t seal, they can be placed immediately in the refrigerator and used within 1 week.
Looking for more juicy tomato recipes? Find more here.